Metering Device Frame Development Case
Project Brief
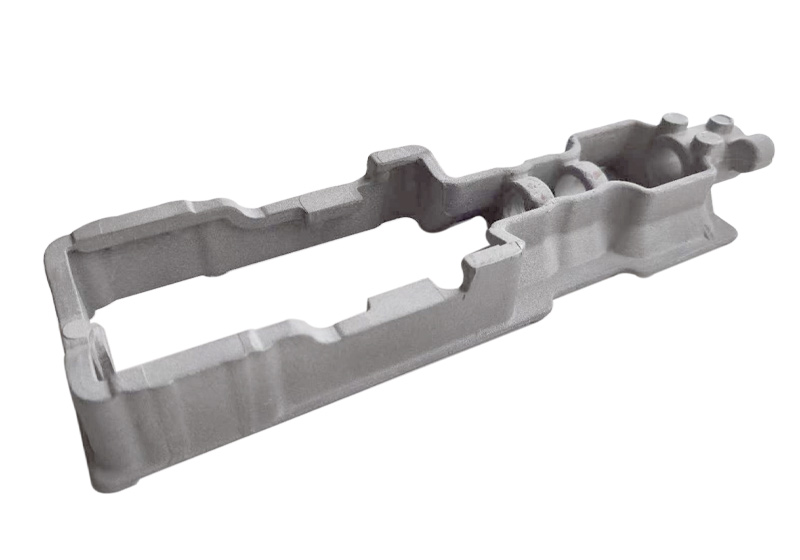
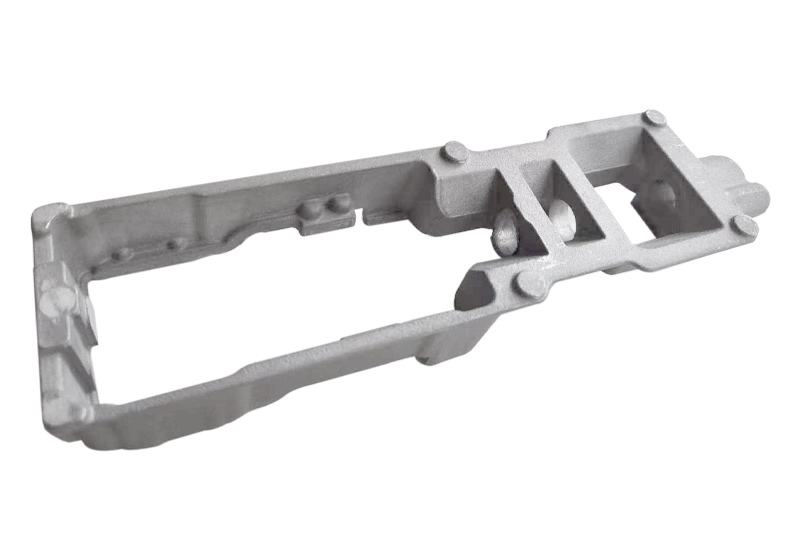
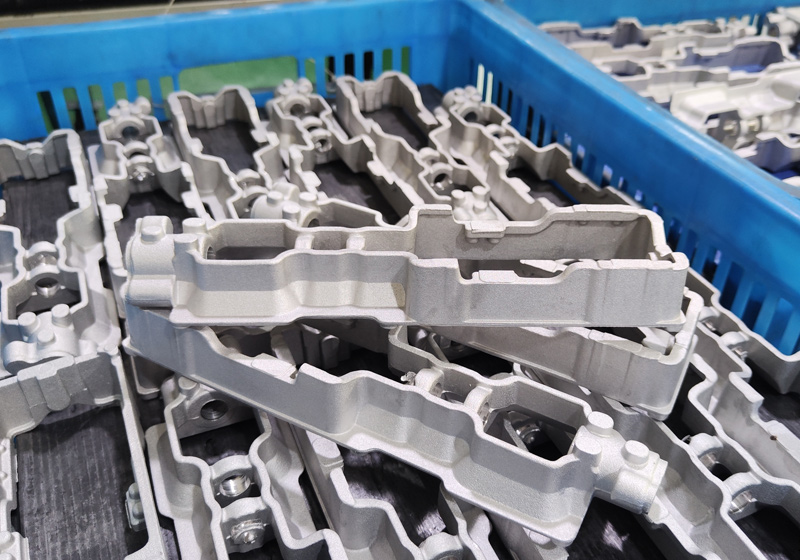
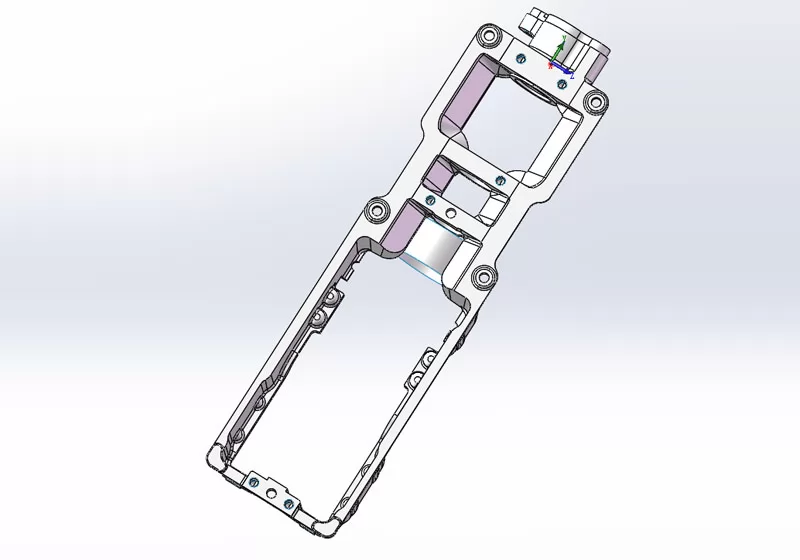
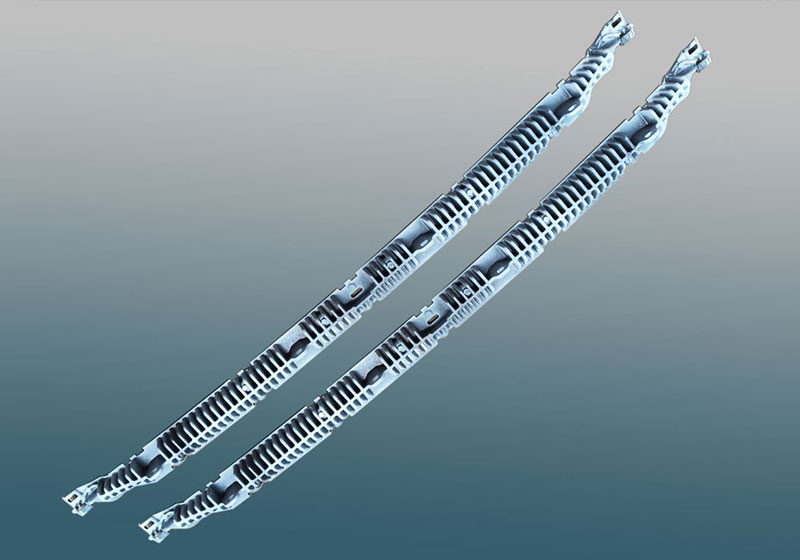
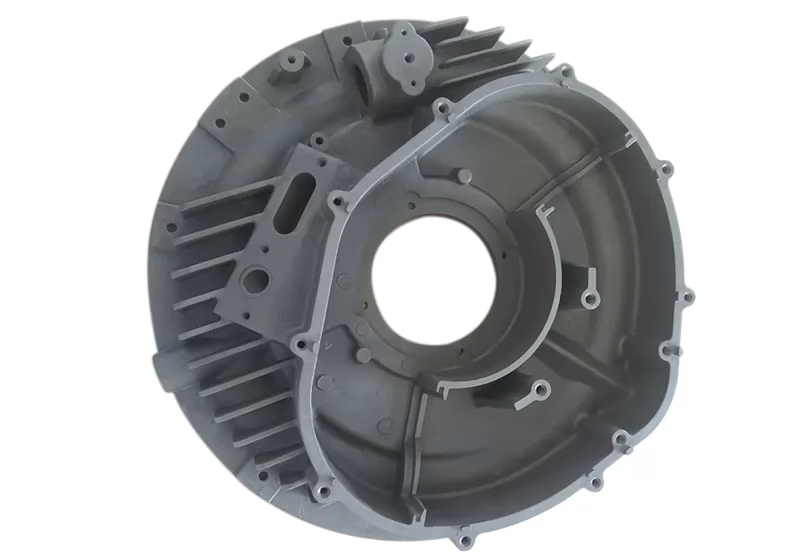
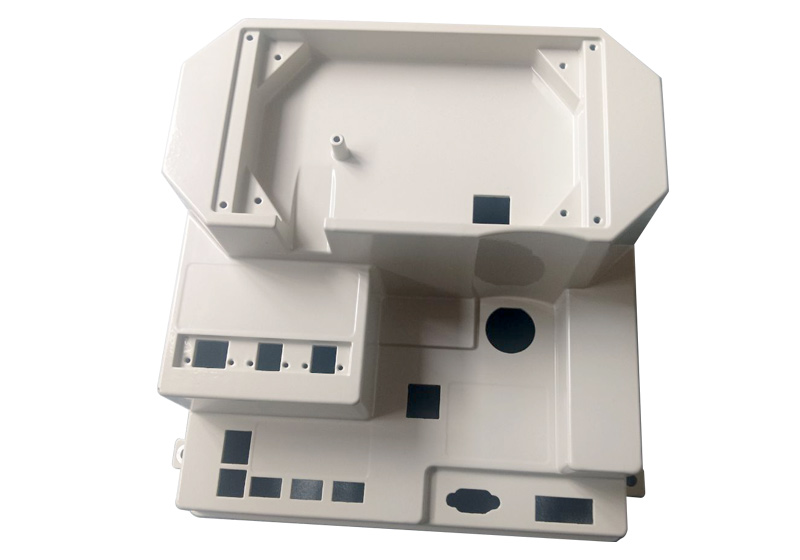
This is a custom-designed aluminum alloy external frame for a metering instrument, serving multiple functions including protecting internal core components, providing positioning, and offering mechanical support.
1. Product Standards & Requirements: Material: ENAC-42200; General dimensional tolerance grade: ISO 2768-mH; Flawless appearance (no visible defects); Surface roughness: Ra6.3µm; Surface anodized. PPAP approval must be completed and passed before formal mass production.
2. Product Challenges: The product has strength requirements but a minimum wall thickness of 2.5mm, making it prone to deformation. As a precision instrument component, it requires precision assembly with high accuracy demands, needing geometric tolerances to meet the 'H' standard.
Risk Keywords: Complex structure, High precision, Prone to deformation, Assembly accuracy, Geometric tolerance, Structural strength
The overall project is challenging, particularly testing our capabilities in mold design, handling different processes, quality control, and delivery.
Development Process
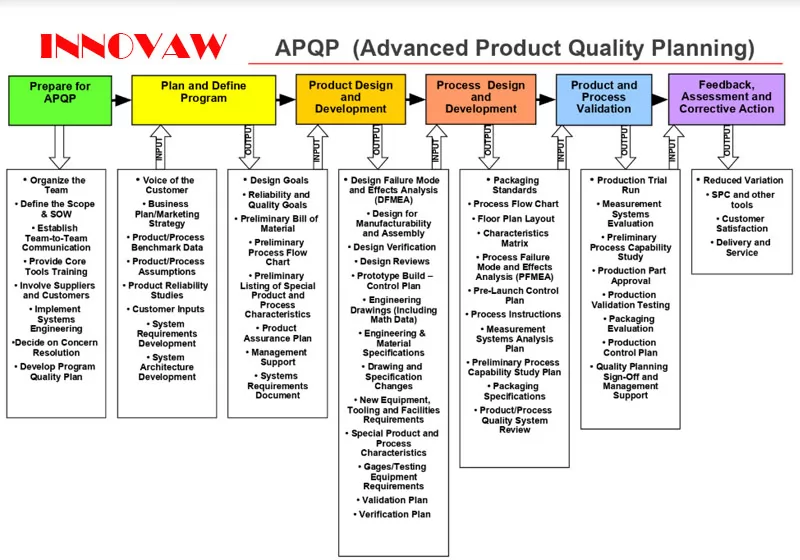
Following the core methodology of the internationally advanced IATF 16949 standard - Advanced Product Quality Planning (APQP), we formed a project development team comprising mold designers, casting engineers, machining engineers, measurement engineers, quality engineers, and sales. Focusing on quality, we entered the comprehensive product development process.

The first step involved DFM analysis to thoroughly understand and optimize certain product details for enhanced manufacturability, establishing mutually agreed-upon technical specifications and quality standards with the customer.
The customer specified ENAC-42200 aluminum alloy for this Metering Device Frame. Based on the material properties and the core design elements of the product, the process route of aluminum investment casting + CNC precision machining was ultimately determined, balancing technical feasibility, quality stability, and cost control.
Subsequently, technical engineers performed mold simulation and mold flow analysis to predict and optimize various challenges and process parameters, and established preliminary Process Flow Charts and Control Plans.
Finally, the plan was gradually validated, and issues were identified and resolved in the subsequent practical stages.
Practice Validation & Optimization
For the development of this Metering Device Frame project, the team followed the standard process: first designing the overall process flow, then progressively validating it step by step according to this flow. Starting from mold manufacturing, the project entered the actual production phase. Our company proceeded according to the initial Process Flow Chart, applied FMEA tools for risk analysis and assessment of various potential failure modes, and utilized Statistical Process Control (SPC) for core parameter data analysis, enabling continuous monitoring and improvement. The main key issues encountered during the actual manufacturing process were as follows:
A. Optimization of Incomplete Filling Issue
During the sampling stage, engineers discovered incomplete filling in some blanks during casting quality inspection. The defect rate in the first batch was around 60%.

The development team held technical discussions and reviews, concluding the main cause was the product's wall thickness (2.5-3mm) leading to insufficient fluidity of the aluminum melt, resulting in incomplete filling. The specific countermeasures were:
1. Increase the pouring temperature to enhance melt fluidity.
2. Optimize the gating system, particularly using radius transitions at runner corners to reduce turbulence and energy loss.
3. Increase the preheating temperature of the shell mold.
After these improvements, the issue of incomplete filling was completely controlled, with the statistical defect rate falling below 1%.
B. Comprehensive Optimization of Blank Quality
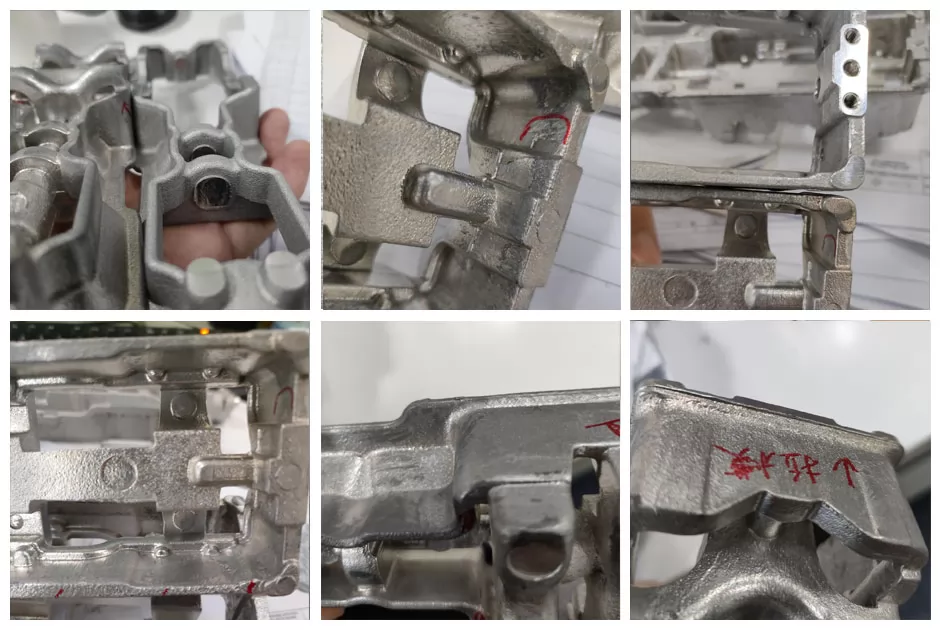
During the development of this Metering Device Frame project, the following issues were also identified at the blank stage:
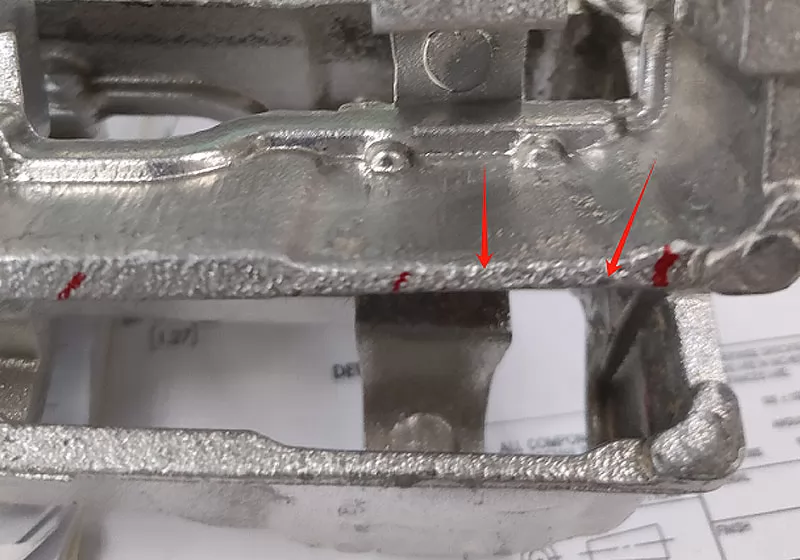
1. Excessive residual gate on individual parts: Needed control within 1mm; subsequent cutting required positioning.
2. Overly coarse shot blasting: Improved from both coating and steel shot diameter aspects.
3. Overly prominent ejector pin marks: Needed optimization to ±0.3.
4. Excess material at the parting line locally: Required polishing clean.
5. Excess material on the inner side of the blank: Required polishing clean.
Leveraging extensive experience in aluminum investment casting development, the team resolved these quality issues one by one.

C. Solving Deformation Issues
During sampling, after the T6 heat treatment, quality inspection engineers found slight deformation in the castings when checking dimensions and accuracy. The flatness of some blanks reached 0.6-1.0mm, failing to meet the specified geometric tolerance standards. The technical team review identified the main cause as the product's varying wall thickness and elongated design, leading to differential cooling contraction during rapid quenching in the solution treatment. We implemented targeted improvements in the following areas:
1. Reasonably designed the placement of products during solution treatment, optimizing the entry angle during quenching.
2. Added a precise calibration process after heat treatment. Based on the casting's deformation tendency and geometric characteristics, a dedicated calibration fixture was developed for effective correction.
After multiple practical validations, the deformation issue was completely resolved.
Quality Control
The entire development process was a systematic procedure of identifying and controlling quality risks while continuously optimizing the process. The Metering Device Frame project team leveraged rich experience and solid technology to conduct technical reviews and repeated verification at every process step, systematically identifying and tackling potential risk points. The team's quality engineers strictly adhered to the IATF 16949 quality system, implementing the full APQP process requirements to achieve full-process quality control. Throughout the process, various standardized documents and practices such as FMEA, SPC, MSA, and Control Plans were established and executed to prevent potential process risks, quality risks, and control quality variation. Finally, PPAP documentation was established and approved by the customer, laying a solid foundation for formal mass production.
The process included first-article inspection, in-process inspection, and outgoing inspection, establishing complete inspection data retention to ensure all quality data is traceable and verifiable.
Results and Evaluation
Finished Product Metrics:
1. Product accuracy: Referenced ISO 2768-mH, standard met.
2. Appearance: Free from any visible defects, standard met.
3. Product mechanical properties: Standard met.
3. PPAP completed and approved by the customer.
The development of this aluminum die-cast Metering Device Frame project by Innovaw, characterized by its relatively high technical difficulty and stringent comprehensive performance requirements, served as a test of the manufacturer's overall capabilities. Relying on our profound expertise in gravity casting工艺 and an excellent quality management system consistently implemented throughout the process, we successfully overcame the challenges and delivered a high-quality product that met and even exceeded customer expectations. This fully demonstrates our casting development team's professional capability for systematic problem analysis and rapid closed-loop improvement in developing complex structural components.
Production Process
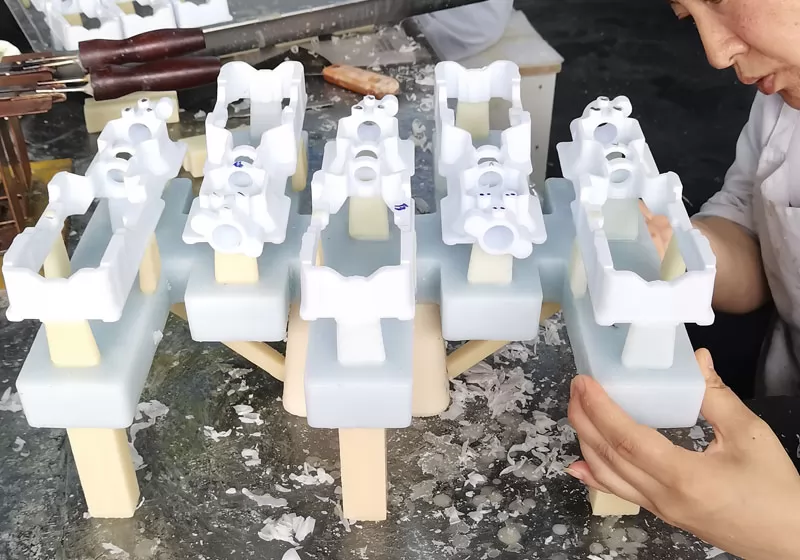
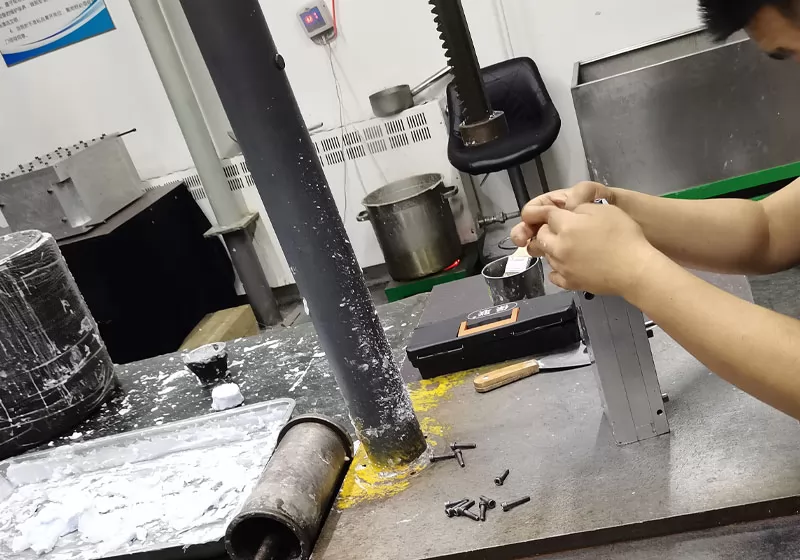
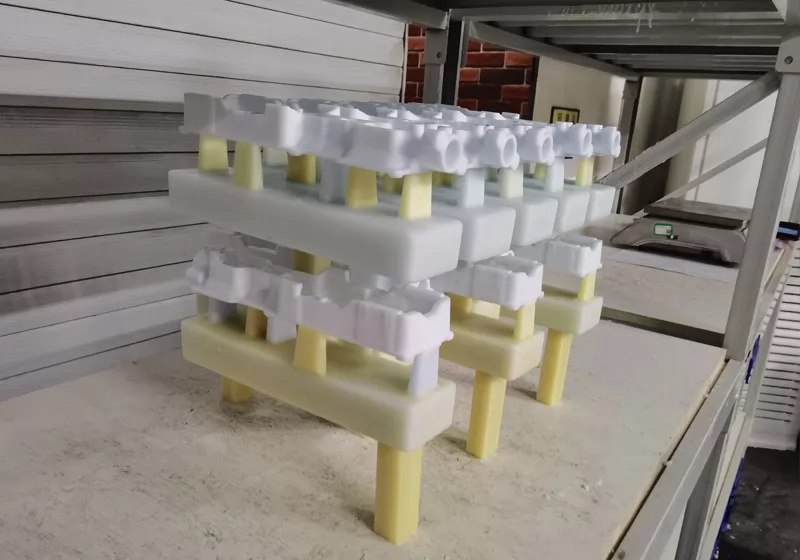
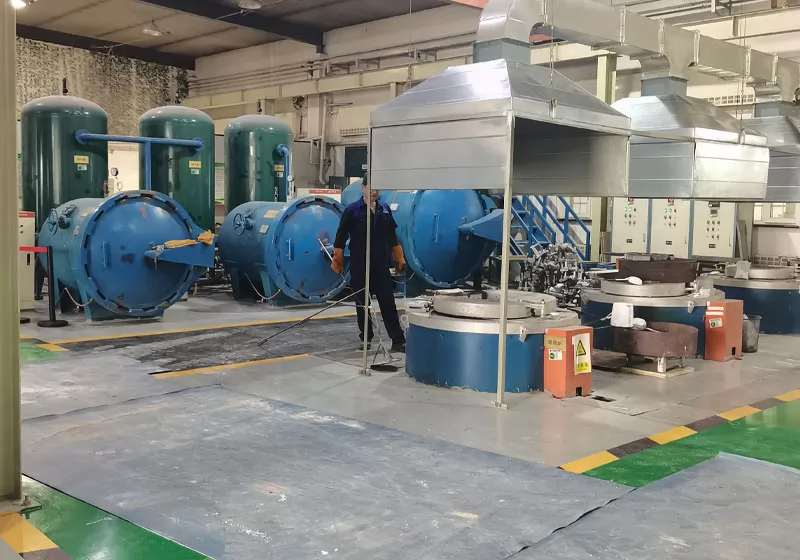
Mould making → Wax Pattern Making → Pattern Assembly → Shell Making→ Dewaxing → Metal Melting and Pouring → Cooling and Knockout → Cut-off and Grinding → Heat Treatment→CNC Machining→Anodizing→inspection & Packaging
FAQs
Q1. How to get a quote?
We ask for 3D models or detailed 2D drawings. Samples may also be provided for pricing purposes. Please also provide specific details such as the product quantity, annual demand, raw materials, and dimensional tolerances. We accept 3D models in .PRT and .SLDPRT formats, as well as neutral formats such as .IGS, .STP, and .X_T.
Q2. What is the minimum order quantity for the product?
Q3. How long does it usually take to deliver the product?
Because the customer's product demand and complexity is different, need to use different die-casting or casting process, so the delivery time is not the same, we will be with the customer before booking the contract for delivery time confirmation. tooling lead time: 5-8weeks according to different parts; first samples lead time: 1-3weeks after tooling ready. mass order lead time: 5-7weeks
Q4. How to ensure quality?
we will use 8D tool to process customer's complaint, define root cause and improvment actions.
